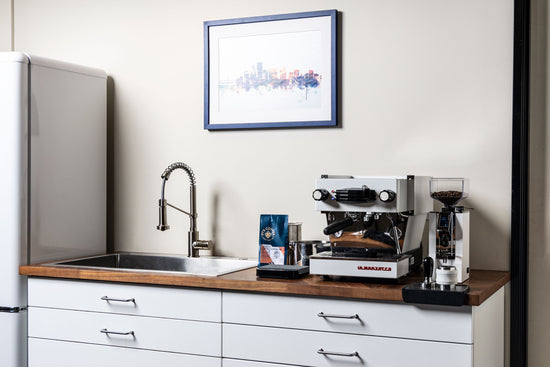
Espresso Troubleshooting: Why are my shots spraying everywhere?
At Clive Coffee, we excel at making espresso look absolutely beautiful. Clean machines, perfect shots, artfully poured lattes — we make it look too easy. But the truth is — we know the terrors of home espresso unlike anyone else. So, we’re here to switch things up a bit and show you the bad. Yep, soggy pucks, terrible espresso shots, coffee spraying all over your machine, counter, grinder, child, and favorite shirt. Why does espresso have to be this way?! Well, it doesn’t. We’ll be troubleshooting espresso shots that gush out and taste terrible. We’ll look at all the potential culprits so that you can have more fun making coffee at home. More time drinking good coffee, less time cleaning. Sound like a plan?
1. Look to your coffee
No matter how excellent your equipment or perfect your technique is, if your coffee is old and stale, so will your espresso. So first things first, use great coffee. What’s good? Well, that’s up to you, but to our standards — anything that was recently roasted. We recommend buying beans when they are up to 10 days off the roast, allowing you to work through the entire bag before it gets too old. The older the coffee, the more time it’s had to off-gas and release all the great things you want to extract from your coffee — when all that stuff is gone, water doesn’t have anything else to pull, and instead, it quickly runs through the grounds and likely spray everywhere. Before going through the hassle of trying new recipes and changing your grind size, just go buy a fresh bag of beans. We’ll wait.

2. Check out your recipe
If you are using fresh beans but still having difficulties, look at your recipe. An espresso recipe consists of dose, yield, and time. The dose measures the amount of ground coffee, in grams, you put into your machine, the yield is your total output of liquid espresso, and the time is how many seconds it takes for your shot to pull from the moment you engage your pump until you reach your yield. Having inconsistencies with your recipe can be a reason for varying shots, channeling, or gushers (you know what we’re talking about).

3. Adjust your grinder!
A good starting recipe is to pull two parts espresso to one part ground coffee. We’re using 18 grams of coffee and pulling 36 grams of espresso. We typically recommend aiming for a total shot time of about 30 seconds. This doesn’t guarantee a perfect shot or extraction, but it’s a great starting point!
Weigh your dose, prep your shot, then start your timer as soon as you engage the pump. Once you reach your yield, stop the shot and see how long it took. To manipulate time, you’ll use your grinder, making coffee finer or coarser until you reach 30 seconds.

Seeing how long it takes to pull a 1:2 will let you know how much to adjust your grinder. Make one small adjustment at a time, moving about ½ step finer or coarser until you hit 30 seconds. If you over-adjust, you can end up jamming your grinder, choking the machine, or wasting a bunch of coffee moving back and forth. Don’t be afraid to keep going finer or coarser just because your grinder is at a specific number. Adjust based on how your shots are pulling! After adjusting, purge some coffee through the grinder to ensure the grind size has caught up.
4. It could be channeling

If your shots continue to spray, you may be dealing with channeling. Channeling is when water finds a specific narrow path through the puck of coffee instead of flowing through the entire bed evenly. This typically resembles a shaky shot or a stream of water shooting diagonally from the portafilter. If you’re using a bottomless portafilter, you can see channeling when the espresso favors one side of the puck, and there are gaps in the bed or pinholes in the puck post-shot. This can be caused by coffee that is ground too fine or poor technique. Low doses and old coffee will encourage you to grind finer, which can cause clumping, and as a result, channeling — when water flows around the clumps.
Channeling can also occur due to poor distribution methods or carelessness when prepping your shot, such as accidentally bumping it on the group head, creating a crack in the bed, or tamping unevenly, causing water to favor one side. Simplify your routine, keep distribution minimal by lightly tapping the side of the portafilter just a few times, tamp evenly with consistent pressure, and carefully place the portafilter into the group. Continue playing around with your technique, only changing one thing at a time, such as how you tamp or how you distribute the coffee, until you find the perfect technique to eliminate channeling.
If you still have issues, we could recommend distribution tools, pressure or depth-regulated tampers, and precision baskets — all tools that can help eliminate any potential problems.
We are here to help and recommend any tools and tips, so leave comments or questions below or email us at hello@clivecoffee.com.